|
|
Contextual Learning Portal Garden of Eatin`
Basics- Project TitleGarden of Eatin`
- ThemeSustainable Garden
- Submitted ByCarol Mentos/Donna Pirog
c.mentos@schoolsofwestfield.org
d.pirog@schoolsofwestfield.org - OrganizationNorth Middle School of Westfield, MA
- Brief DescriptionUnderstanding the concept of sustainability and having it be a meaningful hands-on experience is the ultimate goal of our project. As part of our Family and Consumer Science Class we have an environmental health strand in which we have successfully created and run a recycling program for the school and have taught the students to compost their food lab scraps with the use of vermicomposters. Our project intends to extend the concept of sustainability by creating a community/school garden to use with our classes and after school that closes the loop that connects compost to garden to plate. Ultimately, we hope to help support the food needs in the city.
- Materials / ResourcesGarden Plot, Gardening Equipment, Seeds, Vermicomposter, Indoor Growing Light System, Computer access
- Team membersCarol Mentos
Donna Pirog
Classroom Students and Gardening Club
Business Tech Teacher
Science Teacher
Westfield Vocational High Horticulture Teacher and Students
- Pre-requisite knowledgeSome gardening experience would be helpful.
Knowledge about Composting and Vermicomposting.
Knowledge of Organic and Sustainable Gardening Methods. - Technical support neededComputers
- Any modifications or extensions for particular student populations?The sustainable garden can be used as a learning tool for any student population.
Key Questions- Key QuestionsHow can we use composting and gardening to help students understand the concept of sustainability?
In what ways does the environment impact my health?
How do individual and community activities affect environmental health?
What is sustainability? - Connections: How or why was this topic identified? Why is it meaningful?We were looking for a way to find meaning in the segregated activities of vermicomposting, recycling, and cooking in our food labs. Creation of the school garden helped to close the loop in the process, and gave the students a hands-on experience as to the source of their food.
- Background Research: What resources were used to find background information for this project?A conference conducted by Massachusetts Agriculture in the Classroom gave a lot of background information to help us begin in planning and creating our community garden.
Organic Gardening Magazine and the Rodale Institute have a wealth of information to access.
The Green Team of Massachusetts, www.thegreenteam.org, is also a resource for information.
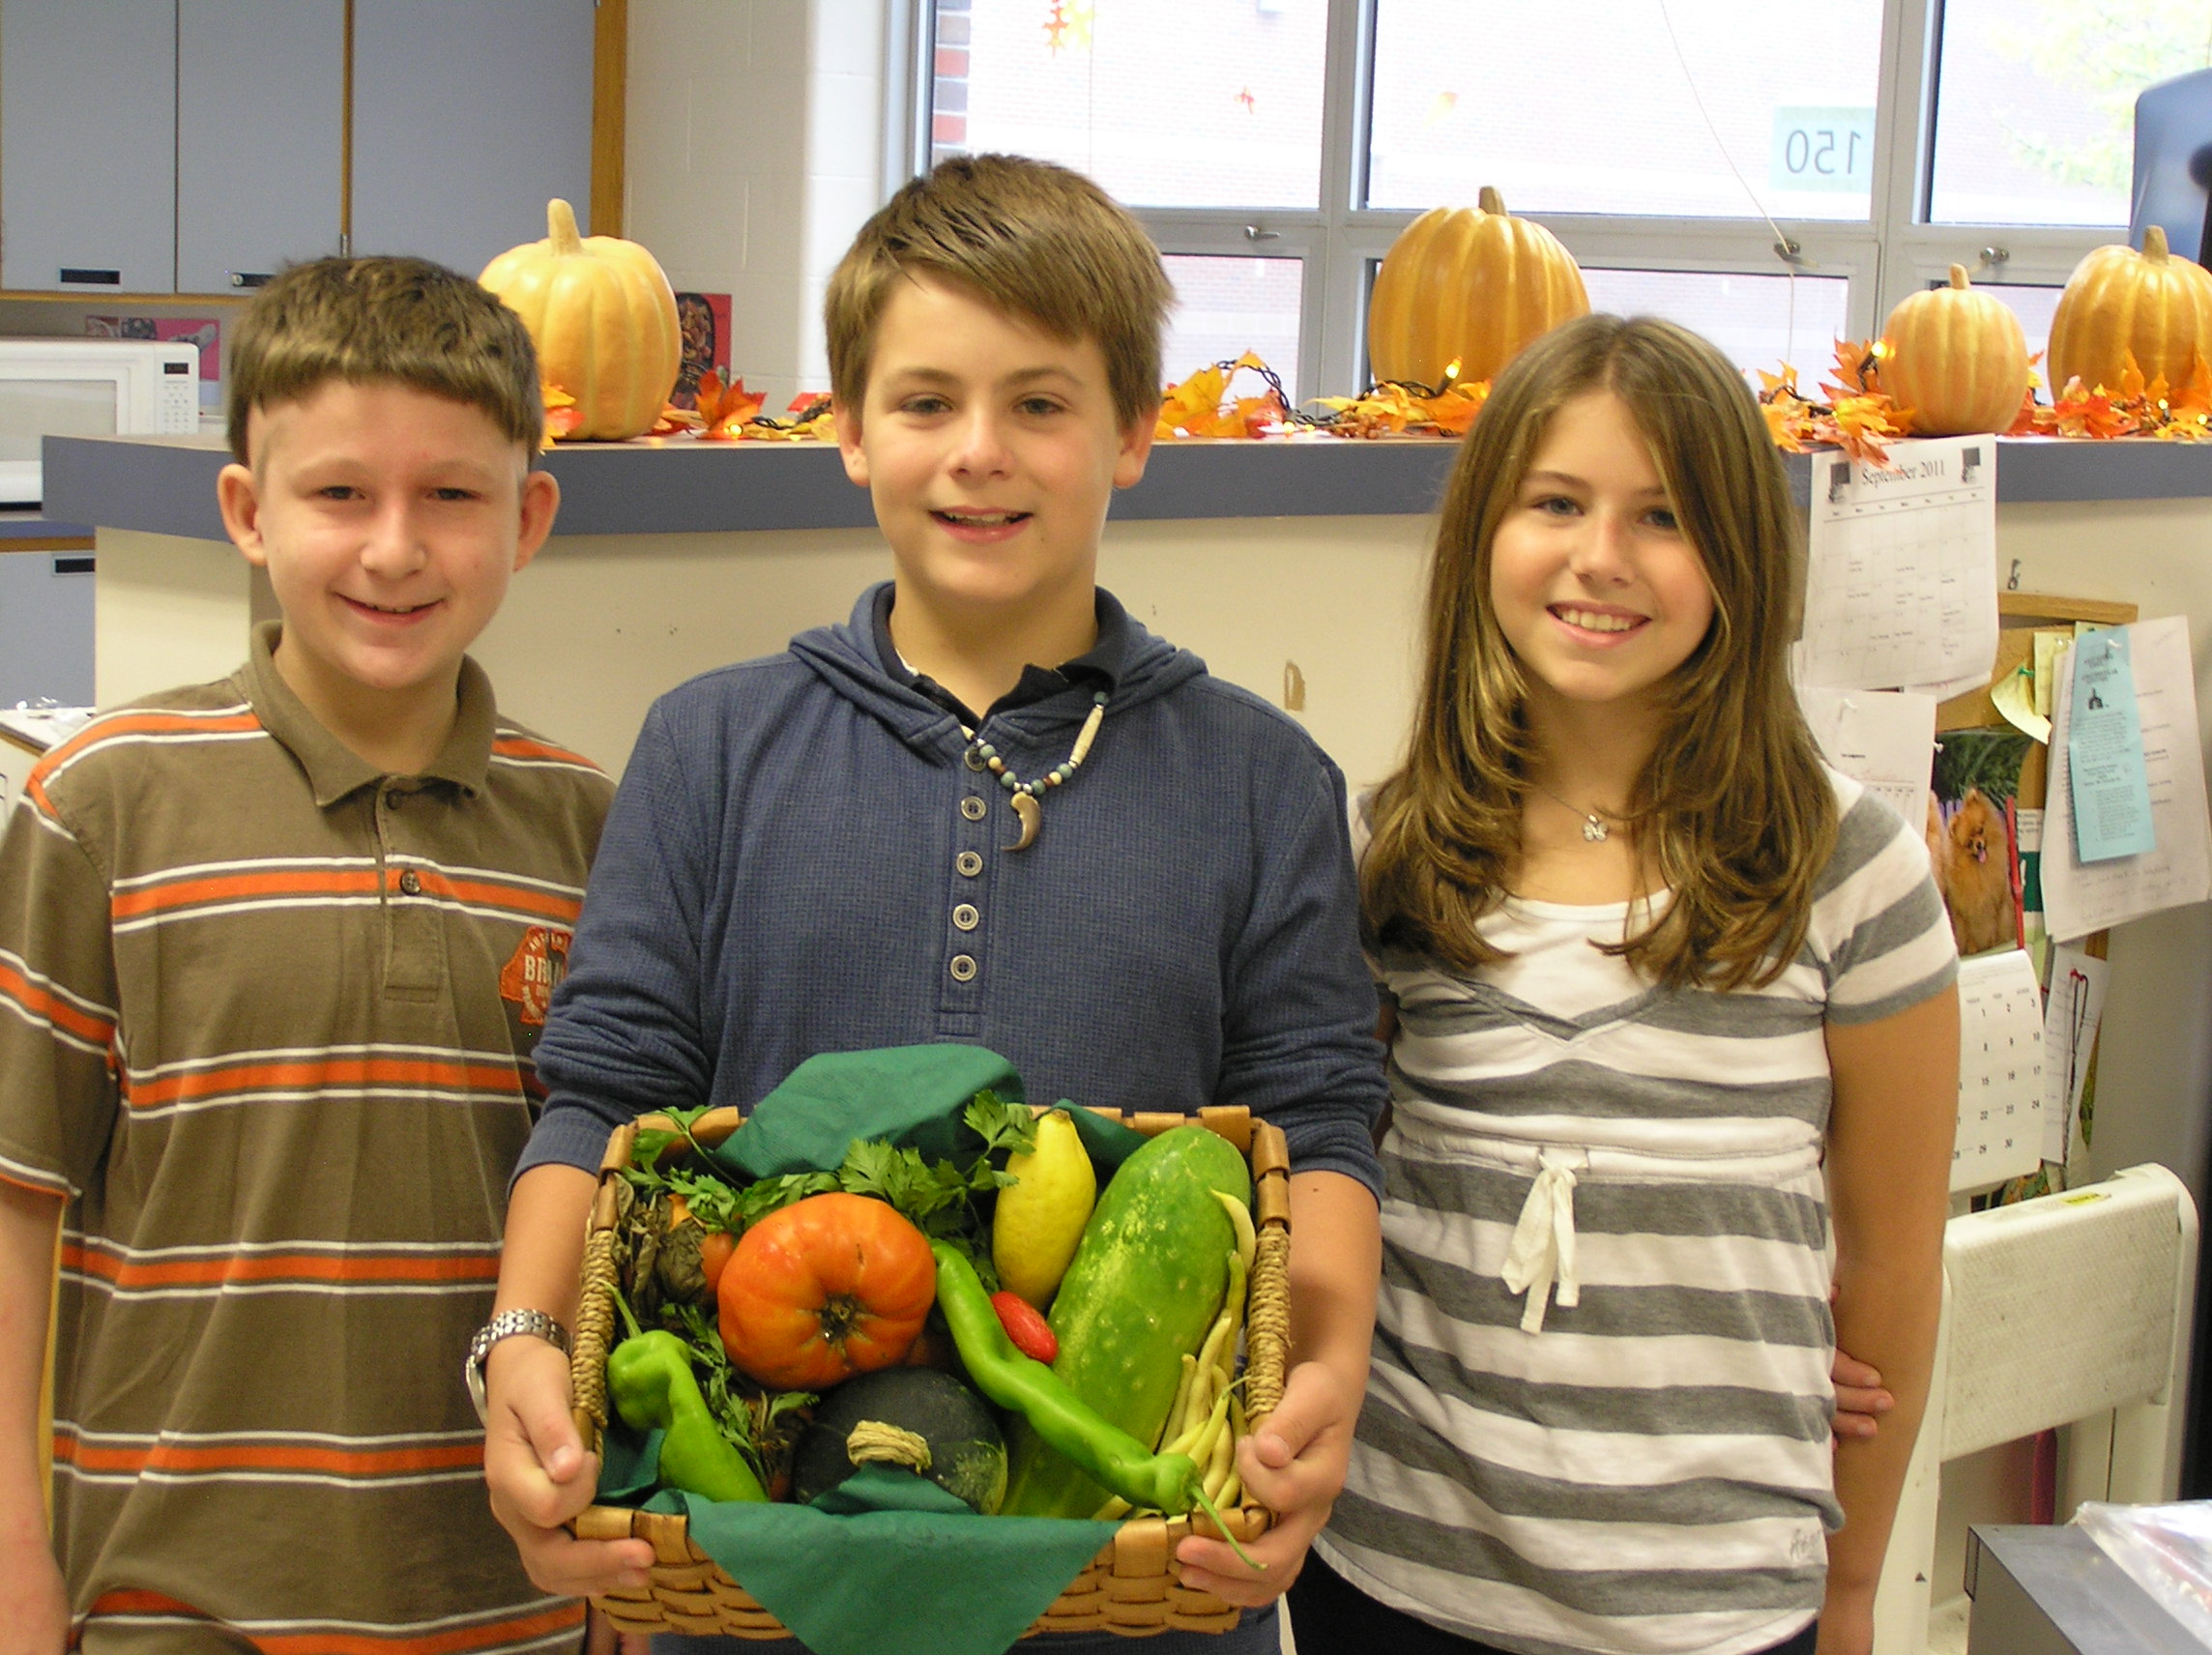
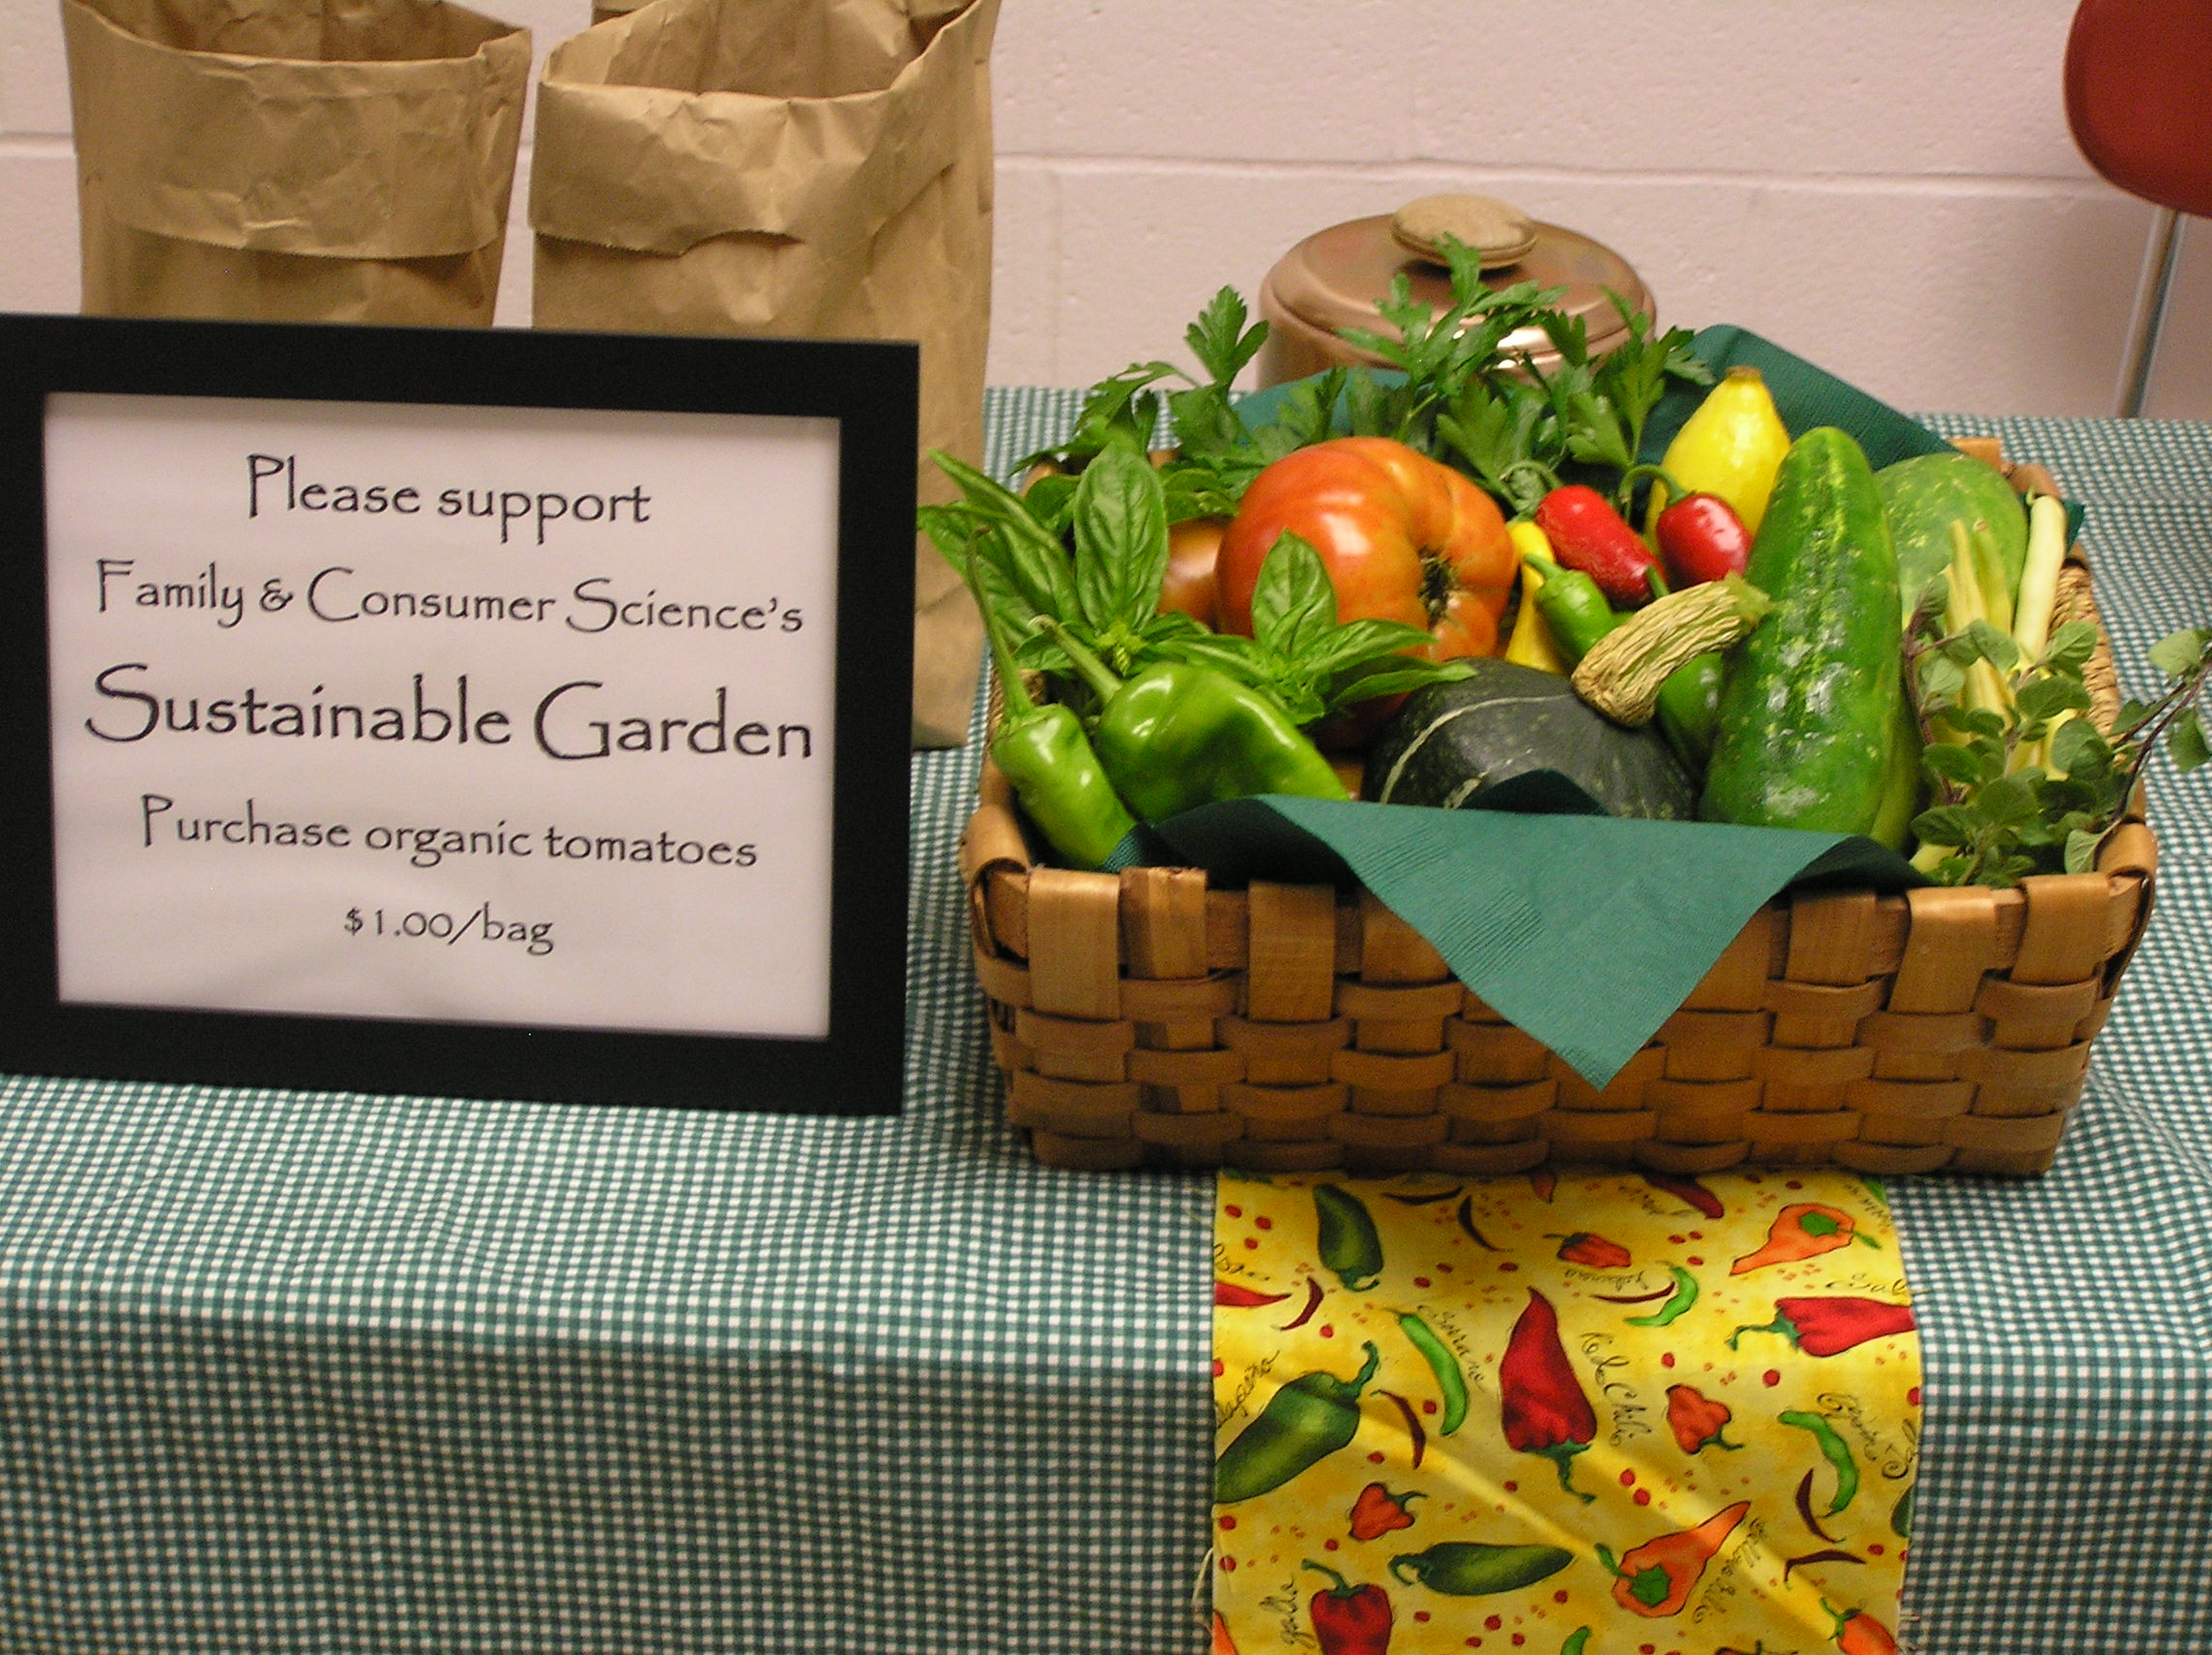
The Audubon Society is a good resource. They provide workshops and materials for teachers to use in the classroom. - Outcomes: What was the outcome? How was it shared or applied in the community?The garden in its first year was very successful. We were able to use the vegetables grown in the garden in our food labs and our after school gardening/cooking club. We gave away many of the vegetables to the staff and support people of our school. We also donated some to our cafeteria to use. On parent night we were able to share some of the produce, also. We plan this year to grow a plot for the food bank. The garden created a meaningful application of the knowledge the students obtained in the classroom.
-
Units / Activities - Intro to the Concept of Sustainability and the process of Recycling.
2 class periods, recycling ongoingOBJECTIVES
1. Design and evaluate a personal plan that contributes to the conservation of our natural resources.
2. Understand the Concept of Sustainability.
3. Understand why we recycle and our personal roles in contributing to the health of our environment.
INSTRUCTIONAL TECHNIQUES
1. Write the word Sustainability on the board and ask the students what they think the word means. Let them answer with their thoughts.
2. On the overhead display the definition for Sustainability: "Meeting the needs of the current inhabitants without harming the ability of future generations to meet their needs as well". Have them copy it onto their Environmental Health Vocabulary Sheets (attached). Discuss whether they think our world is in a state of Sustainability. Explain why or why not?
3. State that one way that they can contribute personally to Sustainability is through recycling. At this point display the definitions for the 3 R`s and have them copy them onto their Vocabulary Sheets.
Reduce: "To bring down the amount, as in reducing packaging"
Reuse: "To use again with items that cannot be recycled such as wire hangers or plastic pots"
Recycle: "To use again after processing, such as cardboard made into phone books or wrapping paper or soda bottles made into polyester fleece sweaters".
4. View the recycling video. After they view it they can fill out the Recycling Worksheet (attached) They can work out the math problems at the end in groups if they desire, but require that they show the steps to how they solve the problem.
As an additional visual or as an alternative video "The Story of Bottled Water" (web link attached) can be shown.
5. Discuss the answer, which is a large number, and the implications to our environment if we don`t recycle. Discuss how important it is for each person individually to take responsibility for recycling to prevent the problem in our landfills and other places in our environment.
6. Follow up by demonstrating the procedures for recycling papers and bottles in the school, and a trip to each of the recycling containers outside so they can take responsibility for recycling in future classes.
ASSIGNMENT
The students will oversee and be responsible for the implementation of the recycling in the school.
MATERIALS
1. Environmental Health Vocabulary Sheet (attached)
2. Overhead Projector
3. Recycling Video from Springfield MRF
4. Recycling Worksheet (attached)
5. Calculators (optional but makes the math problem easier)
6. Recycling Containers both indoor and outdoors and procedure in place to have it collected by the town, recycling company, etc.
EXTENSION
This lesson on recycling could be extended to a service-learning project in the extended community by developing and implementing a recycling program on a local sports field where many plastic bottles are tossed into the trash instead of being recycled. -
View/Download File: /project174_3783/Environmental Health Vocabulary Notes.doc Web Link: http://www.storyofstuff.org/movies-all/story-of-bottled-water/ View/Download File: /project174_3783/RECYCLING WORKSHEET.doc - The Ins and Outs of Composting
2 class periods,
composting ongoing
OBJECTIVES
1. Design and evaluate a personal plan that contributes to the conservation of our natural resources.
2. Understand the components of a compost pile and how to create one, or the inside alternative, a vermicomposter.
INSTRUCTIONAL TECHNIQUES
1. Students will view video on Composting from Audubon Society.
2. A short PowerPoint (attached) can be viewed that describes the creation and components of a compost pile. Definitions for vocabulary are also given and the students can fill out the correct places on the Environmental Health Vocabulary Sheet (attached) using the information from the video and the PowerPoint. Another good link for information is from Organic Magazine. (attached)
3. Students are then shown an overhead of the various decomposers in a compost system.
4. Students will then be shown the vermicompost system or worm bin (whichever your school has) and tell the students that it is a Vermicomposter (you can write the word on the board), and ask them what they think may be in it.
5. Explain to them what Vermicomposting is, "composting with worms", (they can write it in their Vocabulary Notes) then view the insides of the vermicomposter in the classroom and explain how it is to be used for our food scraps from our food labs. The finished compost will be used in the school garden to grow some of the food that will be used in their classroom food labs thus closing the loop in the cycle.
ASSIGNMENT:
As an ongoing activity the students will stir their food scraps from their food lab into the vermicomposter, and the finished compost will be added by the students to the soil of the school garden to enrich it.
MATERIALS
1. Compost video (can be obtained from the Audubon society)
2.Powerpoint on Composting (attached)
3. Environmental Health Vocabulary Sheet (attached)
4. Overhead Projector
5. Decomposer Overhead Sheet
6. Vermicomposter A crude vermicomposter can be made from a plastic bin. We got the materials from thegreenteam.org along with instructions how to put it together and a certificate for worms. We used this for years until we finally purchased a vermicompost system from Gardeners Supply Company.
7. Link to article on composting. (attached) -
Web Link: http://www.organicgardening.com/learn-and-grow/composting-101 View/Download File: /project174_3783/compost.ppt View/Download File: /project174_3783/Environmental Health Vocabulary Notes.doc - PESTICIDE DEBATE
5 Class PeriodsOBJECTIVES
1. Debate the pros and cons of the use of the pesticide methyl iodide on strawberries using the role playing debate method.
2. Develop a knowledge of different methods farmers use to control insects and weeds, and understand the health benefits and risks of each.
INSTRUCTIONAL TECHNIQUES
1. An overview of 21st century farming techniques (agribusiness) as opposed to organic methods (PowerPoint on organic foods attached) should be presented and discussed.
2. In the computer lab or on laptops students will individually research questions on the pesticide methyl iodide and create a graphic organizer listing the pros and cons of the pesticide. (attached)
3. In the classroom students will randomly choose an index card with one of four roles they are to play in the debate process (link on method attached). They will gather in their role playing groups. The groups will represent:
a. Consumers
b. EPA (Environmental Protection Agency) and the DPR (Department of Pesticide Regulation)
c. Farmers
d. Manufacturer of Methyl Iodide
4. Students will research with their groups to create an argument to support their role.
5. Once students have created their argument the debate will take place in the classroom or a larger space if an audience is desired.
6. The conclusion will hopefully be for the students to see that the risks of methyl iodide outweigh the advantages. MATERIALS
1. Powerpoint on Organic Food (attached)
2. Computer lab or Laptops
3. Research questions (attached)
4. Graphic organizer with pros and cons list (attached)
5. List of links for aid in researching. (attached)
6. Role Playing Cards (index cards will work)
EXTENSION
1. As a follow-up or in collaboration with Language Arts, students could write a letter to a representative or the EPA or DPR expressing their concern of the use of methyl iodide.
2. This same method could be used to debate other environmental issues such as the use of GMO`s, chemical vs. organic fertilizers, family farms vs. agribusiness, etc. -
Web Link: http://www.educationworld.com/a_lesson/03/lp304-02.shtml View/Download File: /project174_3783/Organic Foods.ppt View/Download File: /project174_3783/THE USE OF METHYL IODIDE AS A PESTICIDE ON STRAWBERRIES.doc View/Download File: /project174_3783/LINKS TO RESEARCH METHYL IODIDE.doc View/Download File: /project174_3783/Graphic Organizer for Pros and Cons Debate.doc - GARDEN OF EATIN`
Class Time and After School Club
Ongoing throughoutthe year.OBJECTIVES
1. Using sustainable gardening methods students will plan and create a community garden.
2. Using produce from the garden students will prepare and consume appetizing vegetable and fruit dishes.
3. Students will learn various methods of preserving vegetables, fruits, and herbs.
METHOD TO PLAN AND CREATE THE GARDEN
1. First a funding source needs to be acquired.
2. A garden space needs to be agreed upon.
a. Permission needs to be granted from the principal, superintendent, or other administration.
b. Sun exposure, water supply and protection from animals need to be taken into consideration.
3. A soil test should be done to test for lead and other contaminants, and also for the nutrient content. (This can be done through the UMass Extension Service, web link attached.)
4. A garden team needs to be formed. (We started with us as the two lead teachers and posted flyers and made announcements to the students to join the gardening club. We started with a small core group and eventually other teachers and more students joined in. Also, we used the students during class time for some garden activities as an extension of some of the class lessons, ie. composting where they mixed the finished compost into the soil.)
5. We then started planning and used the students as much as we could to do a lot of the leg work such as creating letters requesting donations for equipment, plants, seeds, etc, or petitioning the mayor for support or creating fund raisers for money.
6. Equipment needs to be purchased. (We purchased much online through Gardeners Supply Company. (link attached) They have a great grow light system which provided the stand, lights, self watering seed starting trays, plant labels, and seed starting medium, and they also provide 25% discount to schools.
We also purchased from them a vermicomposting system, and a 3-tier strawberry bed.
7. Decisions have to be made about what will be planted in the garden.
8. Seeds need to be acquired. (URI link attached)
9. Then the real fun begins. Starting seeds indoors will give a jump start on the spring garden, but some seeds will probably be better direct seeded. The colder weather is a good time to plan how the garden is going to be laid out, also to locate sources for straw or other mulch, etc. so when the time comes it will be ready.
10. As the weather warms the garden plot needs to be prepared.
a. The lasagna gardening method is a good method to begin a garden plot. (link attached)
b. We used the old fashioned method with lots of manpower (students and teachers) to pull weeds. We also needed to take out some invasive burning bushes and other large invasive plants, so the lasagna method was not practical for us.
c. Since we did not use the lasagna method we needed to till the soil. We recruited the help of our district`s vocational school horticulture class to come with a tiller and manpower to prepare our soil.
11. As per the recommendations of the soil test the soil should be amended. (We added organic matter in the form of finished compost from our vermicomposter and also coffee grounds from a local coffee shop that saved their coffee grounds for us.)
12. By this time, the plants started indoors in late winter and early spring should be ready to transplant outdoors. Students made rows and plants were transplanted and seeds were directly seeded. (We had recruited the wood shop class to create tomato stakes and signs marking plant rows.)
13. To save on weeding time and also to preserve the moisture level a thick layer of straw or cut grass should be put in between rows as mulch.
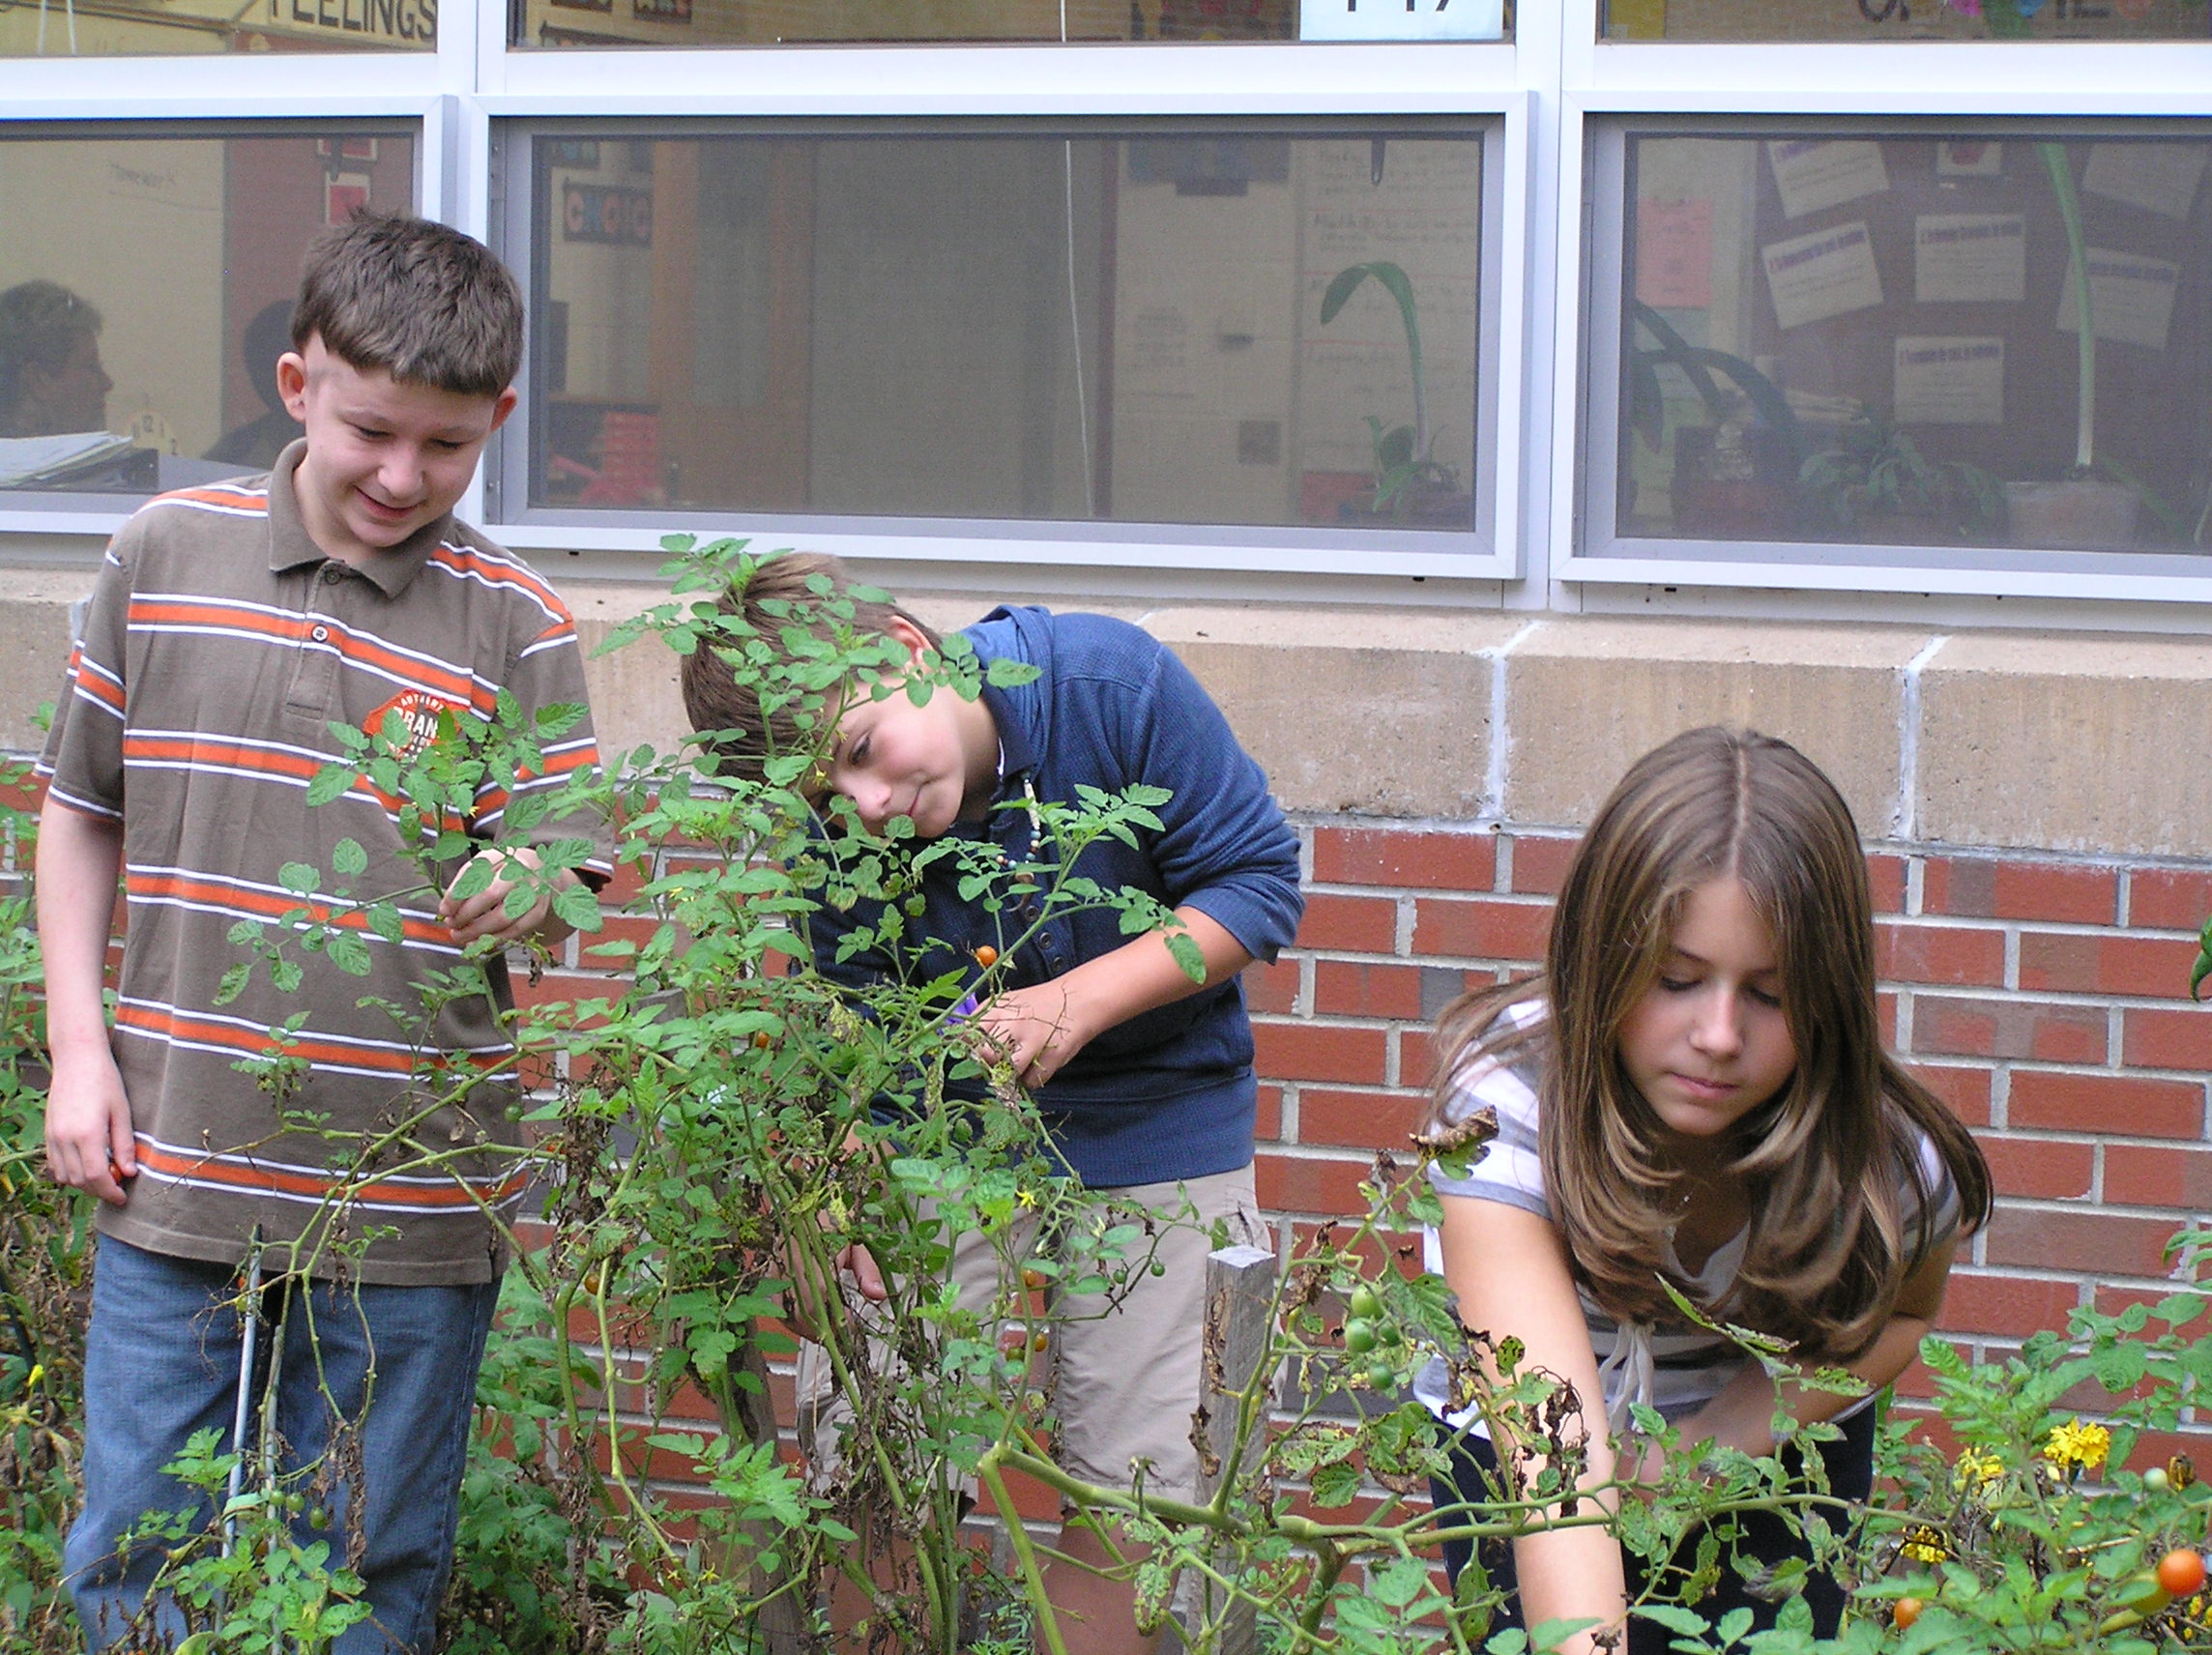
14. The garden will need to be tended to occasionally in the summer to weed, to harvest and especially to water. (We were lucky to get the cooperation of the custodians who, when needed, hooked up our laid down soaker hoses and sprinklers to a water source and kept the garden well watered. A schedule can be made with good planning where volunteer students, parents,or teachers take turns tending to the garden.)
15. When the students return, the major harvest will take place and again the club and classes can resume with the major care of the garden. The preparation, preserving,and distribution of the food can be done, also.
16. Once the harvest is done, students can help prepare the garden for winter by pulling dead plant material, and they can sow a `green manureMATERIALS
1. Space for Garden
2. Indoor Grow Lights (We got ours from Gardeners Supply Company)
3. Gardening Tools (shovels, rakes, weeders, hoes, hand tools, hoses including soaker hoses, sprinklers)
4. Seeds (we got ours through the University of Rhode Island free seed program link attached)
5. Straw to control weeds.
6. Water source
7. Compost and other organic matter for nutrients.
8. Fencing or other enclosed garden area. (ours was in our school courtyard)
9. Tomato stakes, trellises and other plant supports.
10. Optional items we purchased were a vermicompost system, and also a 3-tier strawberry bed.
EXTENSION
1. The garden can be used to formally teach lessons such as composting, or sustainable gardening methods. But it is also an invaluable source of informal and impromptu learning. For example our students have learned about different insects in the soil, they have watched the life cycle in a bird`s nest, and especially have learned how to work as a team.
2. Teachers in the spring created a point system to use as an incentive for good behavior to earn a field trip. When they needed to earn back points that they had lost the students were given the opportunity to volunteer to work with the garden. This exposure to the garden got some students onboard as new garden club members.
3. Another extension of the sustainable garden can be an after school cooking club to learn to prepare appetizing and nutritious dishes with the vegetables and fruits that have been harvested from the school community garden. -
Web Link: http://www.umass.edu/soiltest/ Web Link: http://organicgardening.about.com/od/startinganorganicgarden/a/lasagnagarden.htm Web Link: http://www.gardeners.com/ Web Link: http://www.uri.edu/cels/ceoc/documents/seedOrderForm.pdf - ADOPT A PLOT
OBJECTIVES
1.
INSTRUCTIONAL TECHNIQUE
1. As a preliminary activity, in an assigned space, teacher and students will measure out equal vertical and horizontal rows, with lengths of string to represent a graph.
2. These rows of string will be labeled to represent the coordinates on a graph.
3. Students will then be assigned randomly the coordinates to make up a small portion of the garden.
4. This will become their adopted plot and they will be allowed to create a design within this adopted area using graph paper or a computer aided design program.
5. When the weather is appropriate the students will be allowed to create their design in their adopted space.MATERIALS
1. Computer lab
2. Balls of string
3. Tape measures
4. Graph Paper
5. Marking System for the garden space representing the coordinates on the graph.
6. Computer aided design program (optional)
- MEASURING THE EFFECTS OF DIFFERENT METHODS OF FERTILIZER ON PLANT GROWTH
CLASS TIME
1 class period for preparation of plants
Measuring and Recording Results will be ongoingOBJECTIVES
1. Demonstrate the effects of different substances on plant growth.
2. Use tables and graphs to represent and compare linear growth patterns.
INSTRUCTIONAL TECHNIQUE
1. Divide the class into 3 groups.
2. Each group of students will fill 3 pots with soil and label each pot according to the method of fertilizing that plant will receive.
3. Students will plant an equal number of seeds in each container.
4 Students will observe differences in germination and growth.
5. Each group of students will water and fertilize with the three methods of feeding in equal increments.
6. Students will measure the growth patterns with rulers on a regular basis.
7. Students will record their results in a journal, and will continue this for at least 3 weeks after plants germinate.
8. Students will graph the linear growth patterns on graph paper or in a computer program.
9. The students can create tables showing the growth pattern
10. Students will reflect on the results in their journals.
11. In a class discussion the students will share the results of their experiment, and come to a conclusion about which method resulted in the best growth.
MATERIALS
1. Growing Medium (soil)
2. Growing Pots (three 4" pots per group)
3. Seeds (green pepper seeds or tomato seeds)
4. Three different methods of fertilizer
a. organic fertilizer (ie. compost)
b. synthetic or chemical fertilizer
c. no fertilizer
5. Labels
6. Measuring Tools
7. Artificial Grow Lights or Another Good Source of Light
8. Journals for Recording Data
9. Water
10. Graph Paper or Computer Program with Graphing system
EXTENSION
1. This activity would be more meaningful if it could be continued for a long period of time, and after plants have been transplanted outside.
2. The health of the plants could also be observed and recorded in a journal.
3. Finally the yield of the fruit would be a final measure of how successful a fertilizer method is.
Instructional Techniques - Teacher DirectedLecture
Teacher directed class discussion
Powerpoint with students taking notes
- Student DirectedStudents will conduct research in computer lab
Students will have a debate using the role playing debate method
- Hands-On ExposureStudents will be responsible for recycling materials.
Students will be responsible for composting kitchen scraps.
Students will participate in creating the community garden.
Students will work with measuring, graphing, and computer aided design.
Assessment Techniques- reflective writingIn a 5 paragraph essay explain 3 things that you can personally do to positively impact and help the health of our environment. Site specific examples of each of the 3 things listed to explain your answers. Use correct sentence structure, grammar, and spelling.
Tags = environment | sustainability | gardening | community-garden | composting | ecosystems | cooking | community-needs | environment | green-in-middle | health | hunger | life-skills/vocational | literacy | math | nutrition | recycling | service-learning | kitchen-science | sustainability | science | Subject = ELA, Mathematics, Science, Arts, Technology, Service_Learning, Other: Family and Consumer Science | Grade Level = MS | Time Period = School Year | Program/Funding = 355 |
Direct website link to this project: http://ContextualLearningPortal.org/contextual.asp?projectnumber=174.3783
|